These days, shopping for real estate starts on the computer. You usually review a property’s online listing long before you go to see it in person.
That means sellers need to make their listings as attractive as possible. Otherwise, buyers will just scroll past to look at the next listing.
And one of the most effective ways to make your listing stand out from the rest is to include high-quality photos.
Why do property listings need high-quality photos?
Humans are highly visual creatures. We process information much faster through images than through text. So if your property listing includes stunning photos, it’ll grab people’s attention faster. Most people are pulled in by photos of a property before they ever read the textual description. And statistics bear this out.
Real estate listings with photos sell 32% faster than listings without photos. And the more photos you have the better. One small study found that a listing with one photo took an average of 70 days on the market to sell, while one with 20 photos took an average of only 32 days.
How many photos does one property listing need?
So let’s say you got your real estate license and you’re ready to list your first property online. You should plan to get around 25 high-quality property photos to upload to the MLS and other marketplace sites like Zillow and Realtor.com. You don’t want too few images, and you don’t want so many that they get redundant either.
Ideally, you should hire a professional photographer to take the photos. But if you’re on a tight budget, you can also take them yourself.
Basic rules of real estate photography
If you’re going to take your own real estate photos, here are some basic guidelines:

Staging — Make sure the house is properly staged. This means getting the furniture organized, cleaning up clutter, and making sure the interior design looks good. Try to neutralize rooms by removing any personal items like family photos.
Lighting — Lighting is everything in photography, and real estate is no exception. Open the blinds to let in as much natural light as you can, and make up for any dark areas with artificial lighting.
Camera —It’s best to use a DSLR camera, but if you don’t have one, a high-quality phone camera will do.
Stabilization — You want your shots to be stable. So instead of holding the camera with your hands, use a tripod to keep it steady.
Lens — It’s best to use a wide-angle lens to maximize the amount of space you can capture in one shot.
Framing — You want to frame your shot so that it’s centered and all vertical lines are kept straight.
Editing — Finally, don’t forget to edit the photos. You can use preset editing settings on your camera to make this step easier or hire a freelancer on a platform like Fiverr to do the editing for as little as $5.
Real estate photography shot list
Now that you know the basics behind taking a good property photo, let’s go over the 7 main shots you need to get and how many photos each requires (listed in brackets):
Front exterior (3)
Get about 3 photos of the front of the house—one that is centered and two that are angled. These are probably the most important shots because they capture the entire house. For the best lighting, go when the sunlight is hitting the front of the house. You can use a tool like Photo Ephemeris to help you plan around the sunlight.
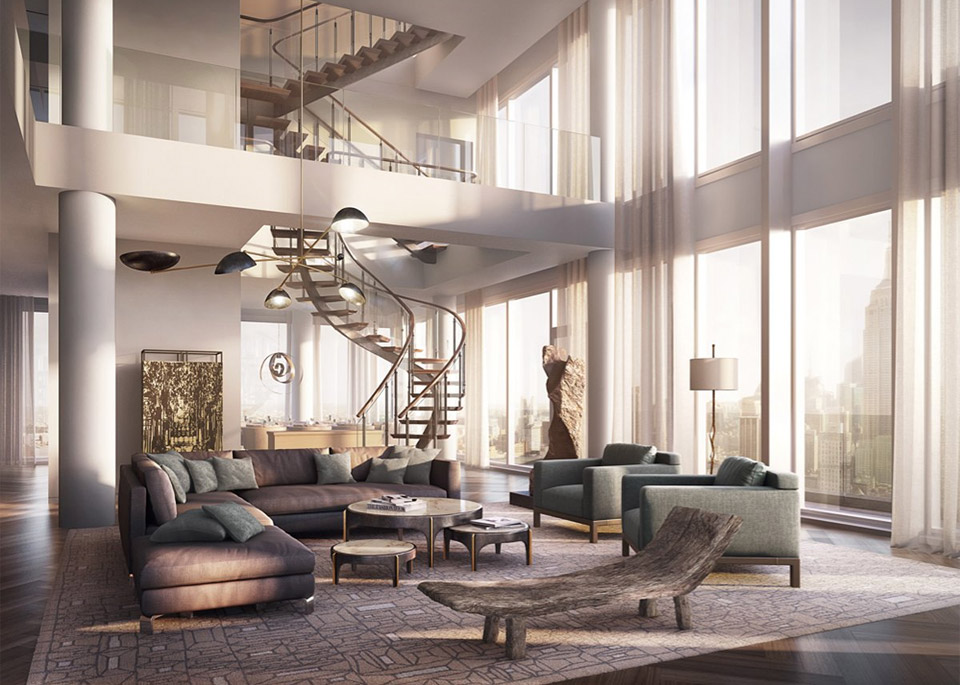
Family room (5)
The family room is probably the biggest room in the house, so it deserves the most photos. Get enough shots to cover the room from a few angles and get some to highlight any special features like a fireplace or a large window with a view.
Kitchen (5)
The kitchen is another important room because it features a lot of appliances. Think fridge, stove, oven, and so on. Make sure to get wide-angle shots and close-ups of the counters and any islands.
Dining room (1)
The dining room deserves at least one photo as the place where the new owners will eat their meals. But unless the room has unique features, one angle will do.
Bedrooms (2)
Next, you’ll want to get at least one photo of each bedroom. The master bedroom may call for 2 or 3 since it’s typically bigger. But as long as you can capture the essential features of each room, you’re set.
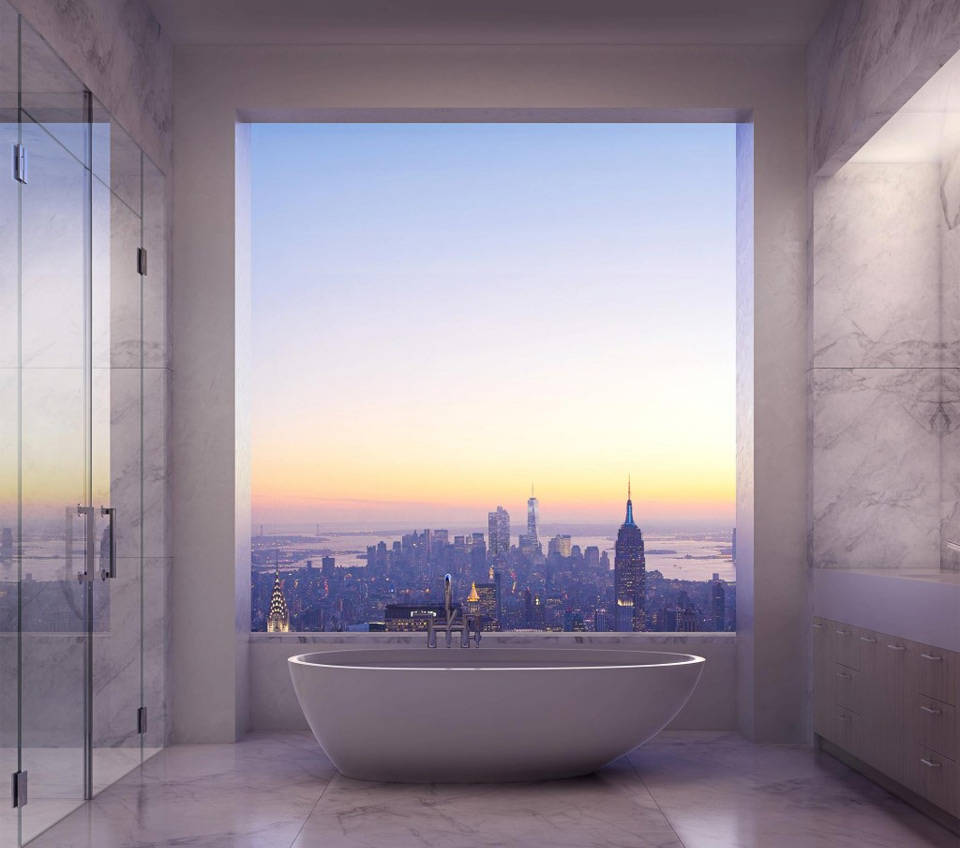
Bathrooms (1)
Bathrooms each need one photo. The exception to this is if you have a large bathroom with special features like a large bathtub or shower. Then you might want close-ups of those as well.
Backyard (1)
Lastly, get a photo of the backyard. Not only is this a major feature of the house but it’s a chance to show off the house’s backside.
Bonus Shots
Every house is different, and some are bigger than others. So you may want to get some of the following additional shots as well:
– Media room
– Game room
– Basement
– Attic
– Pantry
Wrapping Things Up
As a rule of thumb: the larger the room, the more pictures you’ll need to capture all its parts and angles. But remember you don’t want to have so many photos that it’s overwhelming. So try to stick to around 25.
A few other things you might consider doing are aerial drone photos (just remember to notify your neighbors before the flight) and virtual 3D tours. Both of these can add some extra pizzazz to your real estate listing.
But ultimately, your real estate listing photos just need to accurately reflect the property. And if they are high-quality, they’ll do just that without selling the property short.